


Clear Moss Pole Instructions & Tips
 Follow these instructions to get the most out of your clear moss poles.Follow these instructions to get the most out of your clear moss poles.
Use the edge of a table to fold along the score line.

The angle of the folds should be 90 degrees.

Insert tabs into the corresponding holes. The end of the tab should be in the inside of the pole.
Handy tip: Insert the top, middle, and bottom tabs first.

Ensure you have a stable base — it makes all the difference.
Handy tip: Mix something heavy into your medium to weigh down the base. Add 3 parts sand, pumice, or rocks to 1 part medium and fill the pot 3/4 of the way up to improve stability.

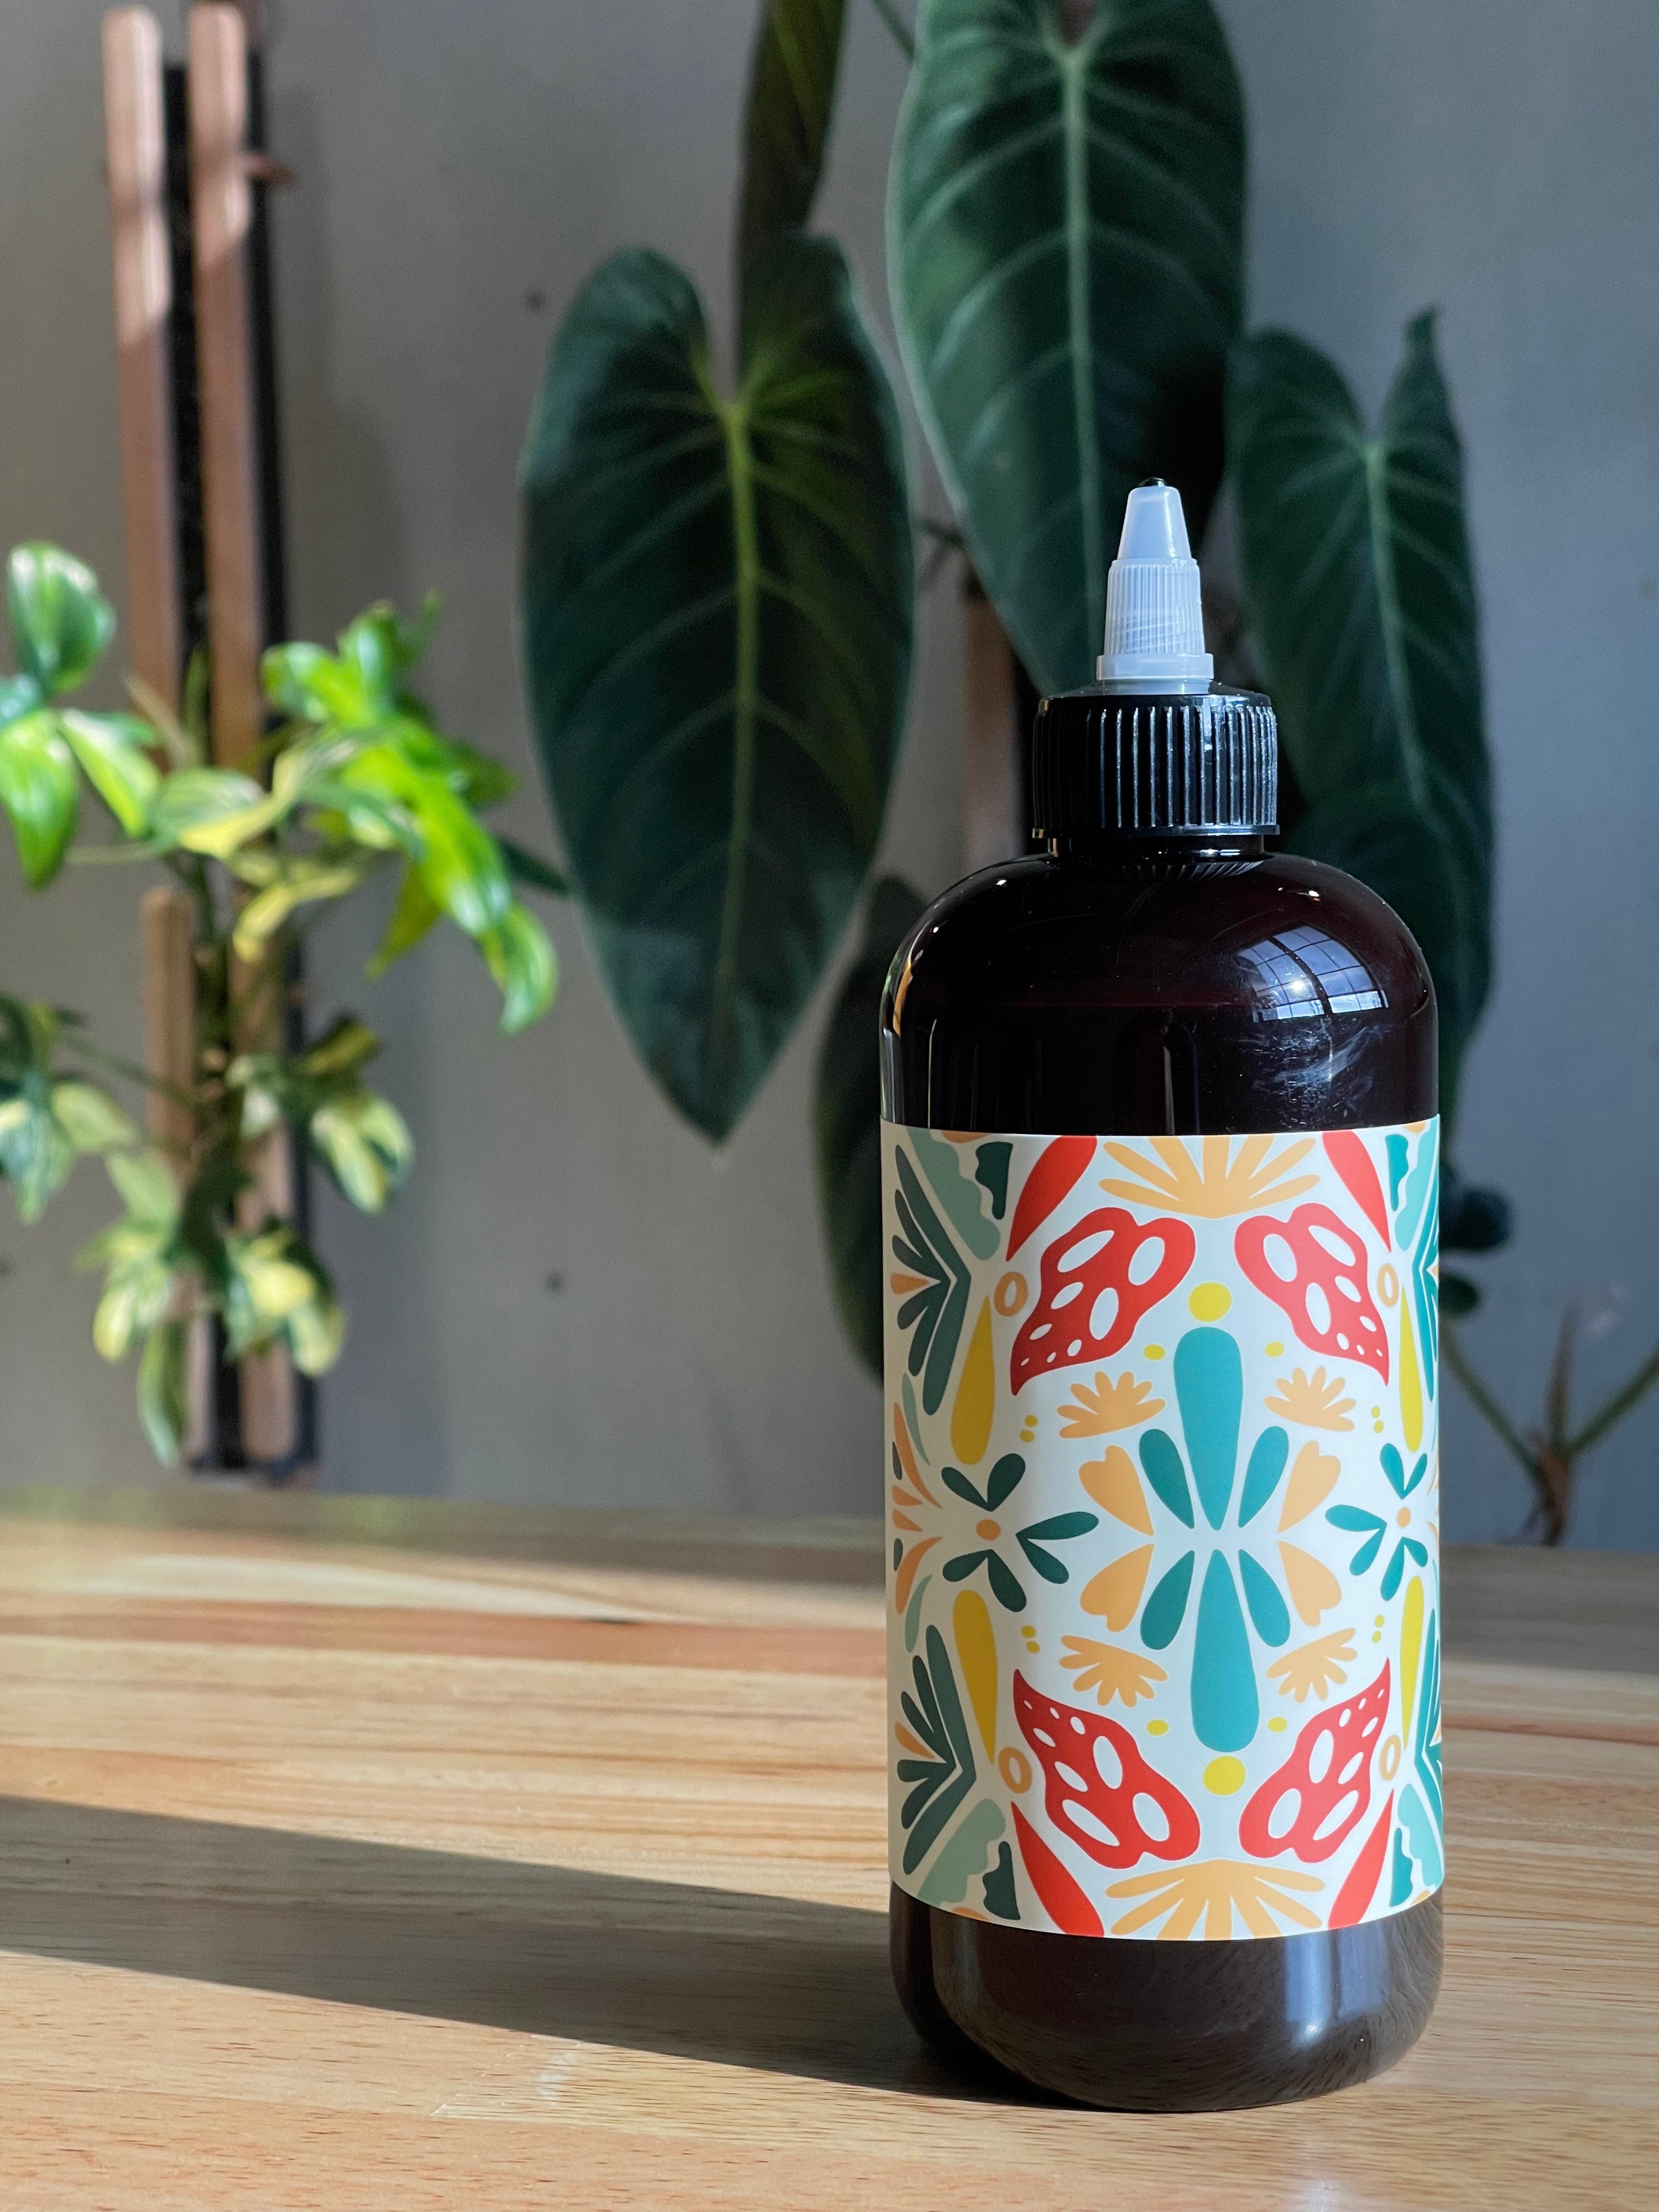
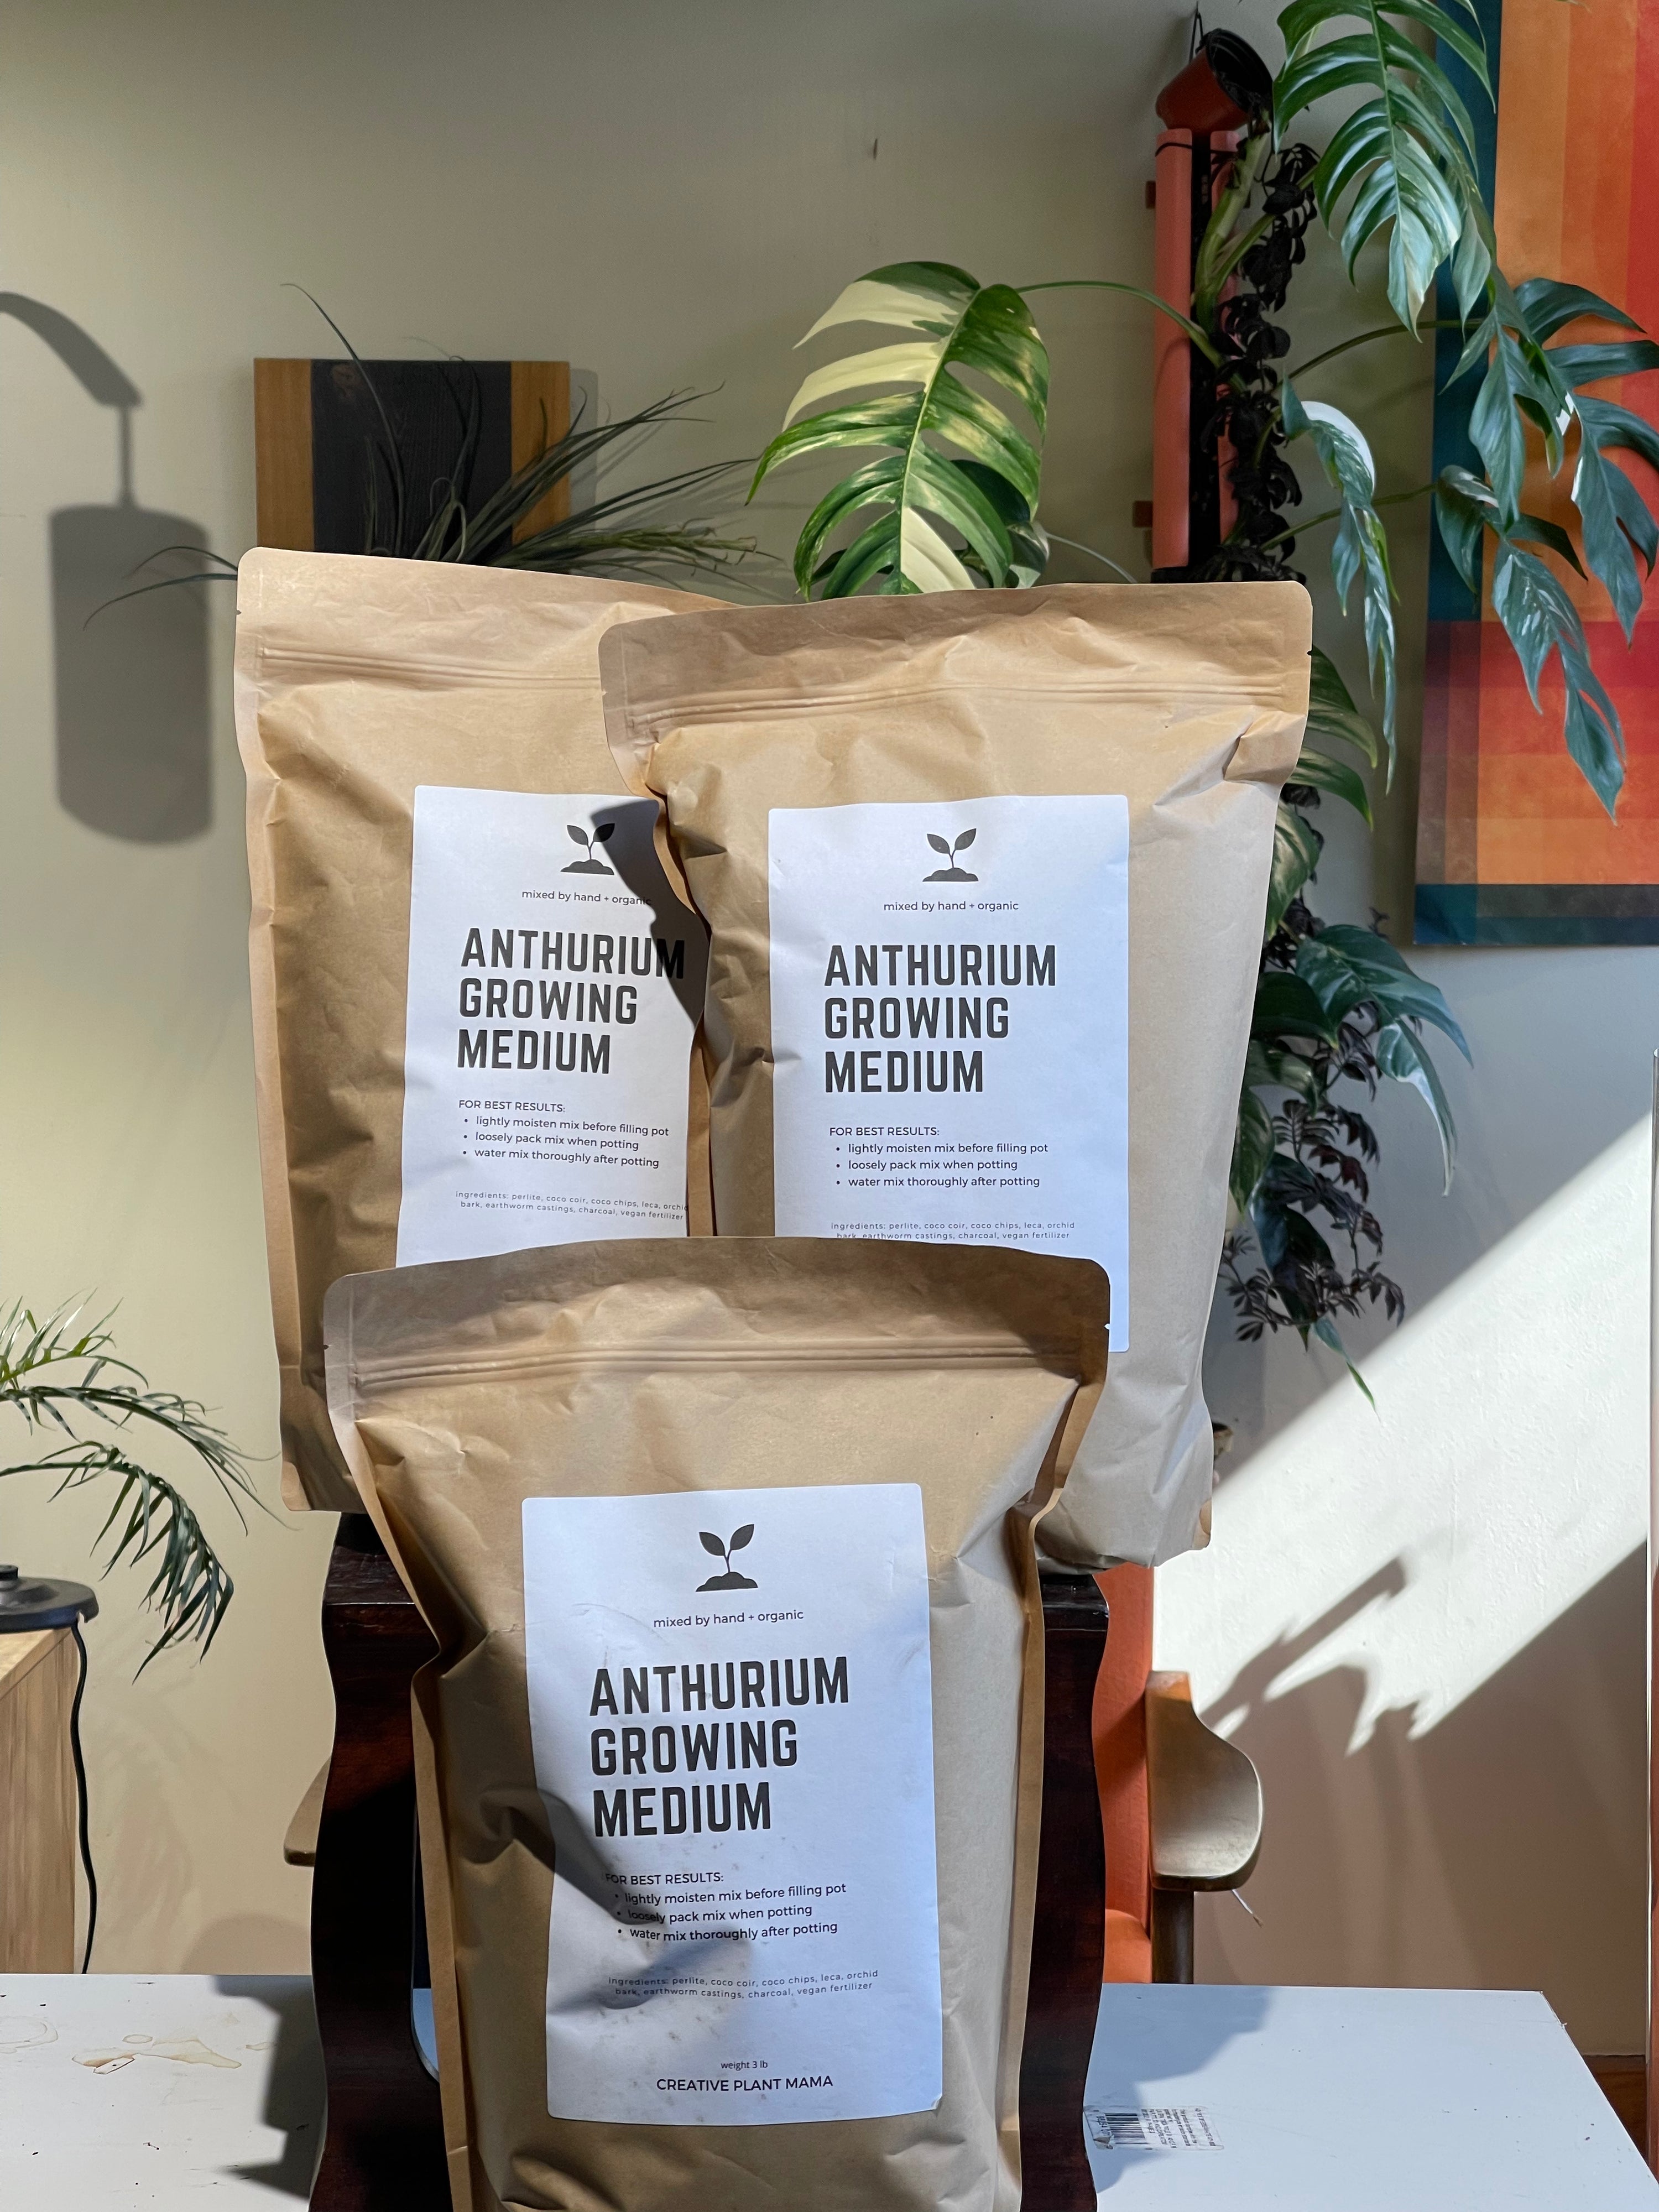
Fill the pole with your favorite medium. We like to use a chunky Aroid mix.

Position the growth point at the base of the pole.
Handy tip: Use a 1 node cutting or wrap your vine around the pole so that the growth point is at the base.

Use a tab to secure the nodes against the medium to help with rooting.

Water your new moss pole!
Handy tip: water once a day for the first 4 days to help hydrate your medium. Some ingredients need a little extra help.
Potting soil can be used, but we recommend mixing with leca or a chunky orchid mix
This will vary depending on conditions and what you fill the poles with. We like to wait until the medium is almost dry. For our chunky aroid mix this typically takes 3-7 days.
For most Anthuriums we recommend using the Pot Extenders
Your cart is currently empty.